Using the user interface
You can go to directly to https://protection.office.com/threatpolicy
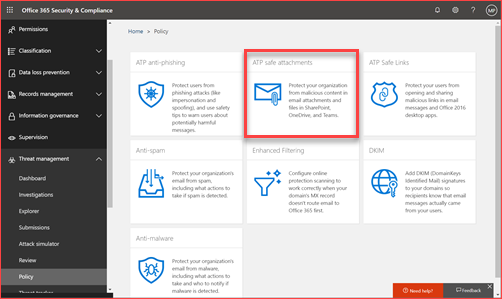
Click on ATP safe attachments

Enable ATP for SharePoint, OneDrive and Microsoft Teams. Add or edit the current policy
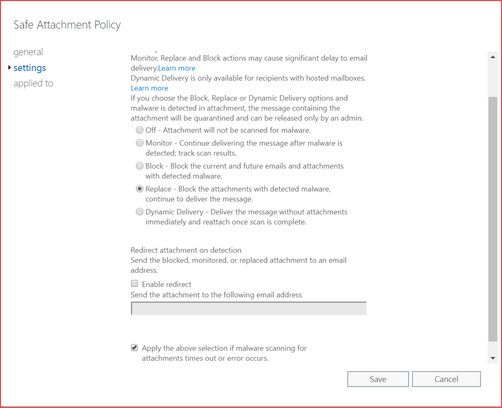
Select your preference and set a redirect mail as you may need the attachment for analysis but make sure you open this in a sandbox environment.
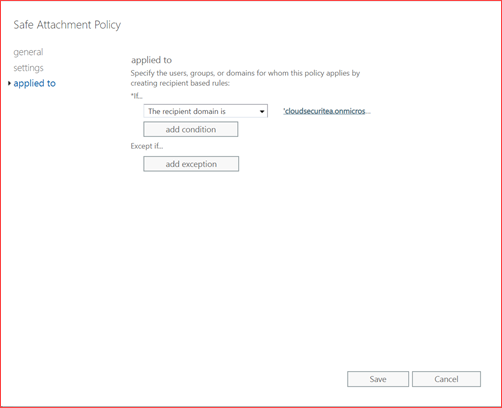
Add the recipient domain to enable this for these users.
Using PowerShell
You can use PowerShell to automatically set a policy. You can use the new Exchange Online module.
Connect-EXOPSSession
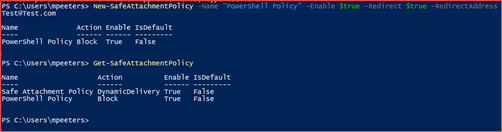
New-SafeAttachmentPolicy -Name “PowerShell Policy” -Enable $true -Redirect $true -RedirectAddress Test@Test.com
New-SafeAttachmentRule “PowerShell Policy” -RecipientDomainIs “cloudsecuritea.onmicrosoft.com” -SafeAttachmentPolicy “PowerShell Policy” -Enabled $true
Using the user interface
You can go to directly to https://protection.office.com/threatpolicy
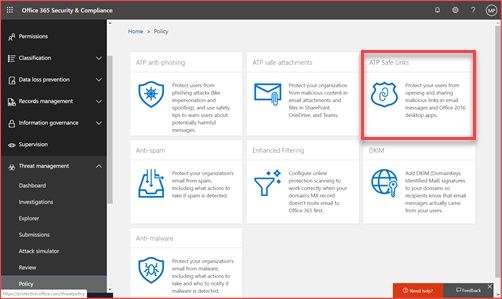
Click on ATP safe links and first edit the default rule.

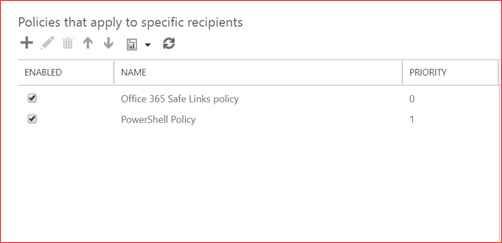
Add or edit a created policy
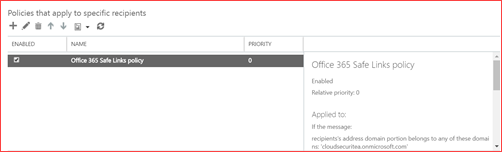
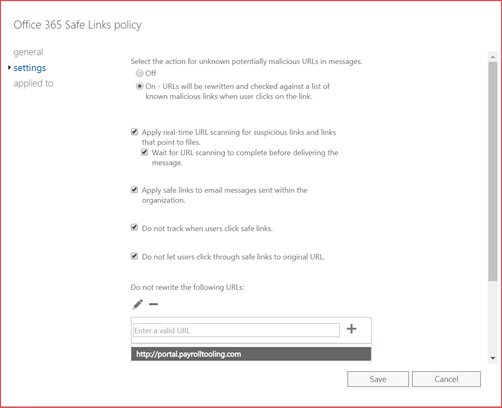
Select the settings you prefer and go to applied to.
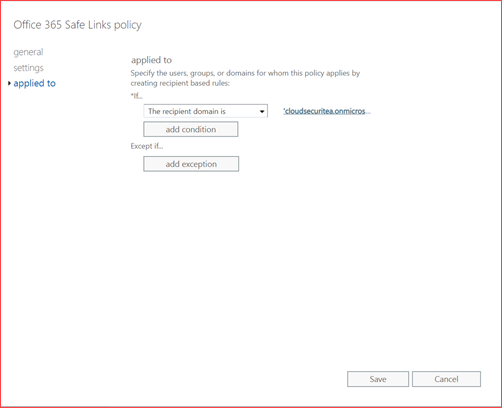
Select the domain for whom this policy applies.
Using PowerShell
You can use PowerShell to automatically set a policy. You can use the new Exchange Online module.
Connect-EXOPSSession
New-SafeLinksPolicy “PowerShell Policy” -TrackClicks $false -IsEnabled $true -AllowClickThrough $false
New-SafeLinksRule “PowerShell Policy” -SafeLinksPolicy “PowerShell Policy” -RecipientDomainIs “cloudsecuritea.onmicrosoft.com” -Enabled $true
Using the user interface
You can go to directly to https://protection.office.com/threatpolicy
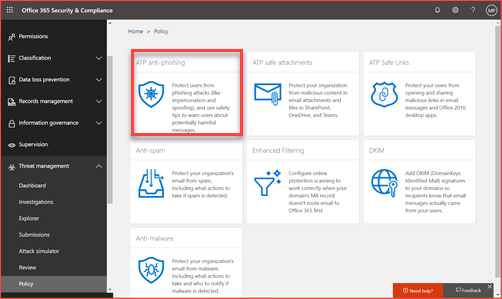
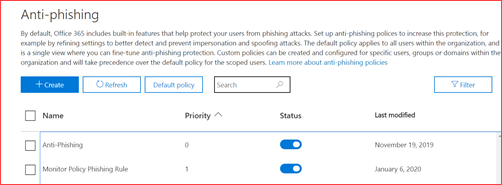
Click on ATP anti-phishing

Add or edit a created policy
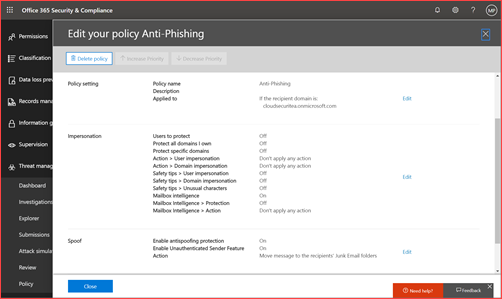
Set the policy based on your organization preferences
Using PowerShell
You can use PowerShell to automatically set a policy. You can use the new Exchange Online module.
Connect-EXOPSSession
New-AntiPhishPolicy -Name “Monitor Policy” -AdminDisplayName “Default monitoring policy” -Enabled $true -EnableOrganizationDomainsProtection $true -EnableTargetedDomainsProtection $true -TargetedDomainsToProtect fabrikam.com -TargetedUsersToProtect “Adele Vance;AdeleV@cloudsecuritea.onmicrosoft.com” -EnableMailboxIntelligence $true -EnableSimilarUsersSafetyTips $false -EnableSimilarDomainsSafetyTips $false -TargetedDomainProtectionAction BccMessage -TargetedUserProtectionAction BccMessage -EnableTargetedUserProtection $true -TargetedDomainActionRecipients test@test.nl -TargetedUserActionRecipients test@test.nl
New-AntiPhishRule -Name “Monitor Policy Phishing Rule” -AntiPhishPolicy “Monitor Policy” -RecipientDomainIs “cloudsecuritea.onmicrosoft.com”