I’ve created a tool to collect data from Office 365 last year. I decided to create a new one which should be easier to use, easier to expand including the installation of the different required modules. The tool has been created with PowerShell using a WPF user interface. The data collection is being executed in a runspace which makes the GUI responsive during the collection. This tool is just a start to collect Office 365, Exchange Online and SharePoint Online data with PowerShell where I will expand it based on customer requirements. It is possible to create certain checks to for example only list webs with unique permissions or show lists with more then an x number of items.
Please let me know which information you would like to collect and I’ll add it to the tool.
You can follow and download the Collect Office 365, Exchange Online and SharePoint Online data with PowerShell tool at GitHub: https://github.com/peetersm12/Office365Information.
This tool will retrieve the information you would like to get based on the authorization you have. It will collect but is not limited to the following:
| Office 365 | Exchange Online | SharePoint Online |
|---|---|---|
| Azure Active Directory Users | Exchange Online Mailboxes | SharePoint Online Site Collections |
| Azure Active Directory Groups | Exchange Online Groups | SharePoint Online Webs |
| Azure Active Directory Guests | Exchange Online Devices | SharePoint Online Content Types |
| Azure Active Directory Contacts | Exchange Online Contacts | SharePoint Online Lists |
| Azure Active Directory Deleted Users | Exchange Online Archives | SharePoint Online Features |
| Office 365 Domain information | Exchange Online Public Folders | SharePoint Online Permissions |
| Office 365 Subscriptions | Exchange Online Retention Policies | |
| Office 365 Roles | ||
| Office 365 Teams |
[How to] Collect Office 365, Exchange Online and SharePoint Online data with PowerShell
First copy all files and folders from the GitHub repository at https://github.com/peetersm12/Office365Information.
I copied the files and folders to a clean Windows 10 image as to test and run the tool for the first time.
It’s a tool with a lot of pre-requisites which may impact the usability of the tool.
Run “Office365-Information.ps1” and you will automatically be asked to run as administrator if you ran this as a normal user.
Please note that you may need to change the execution policy.
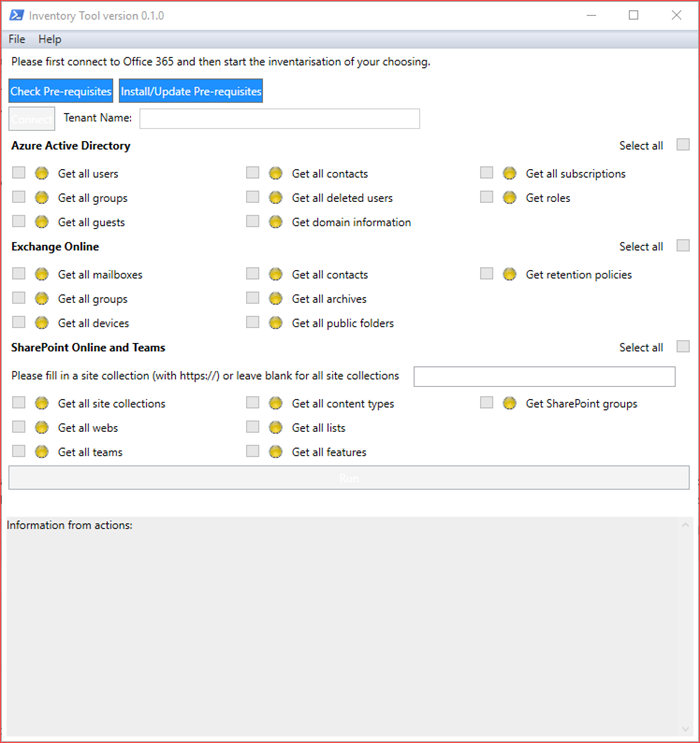
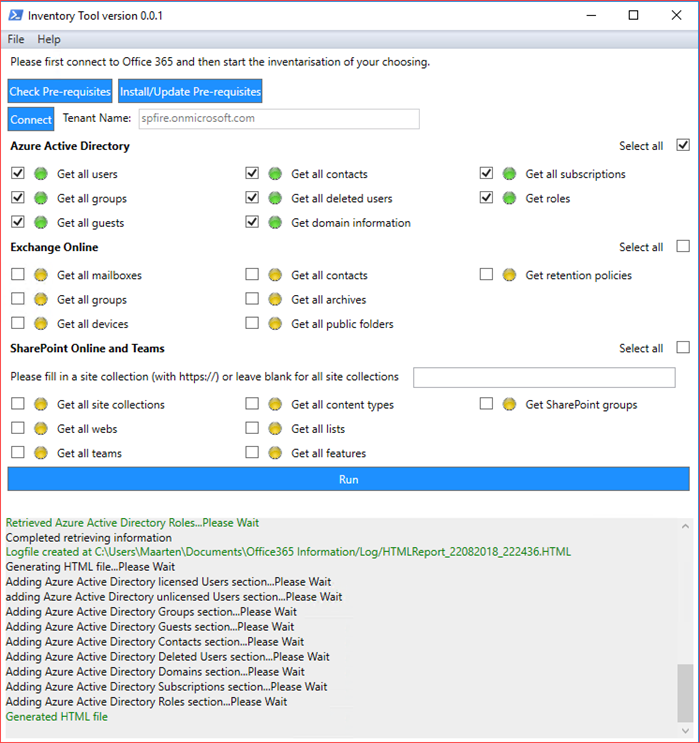
The GUI has started with a PowerShell window in the background.
First click on “Check Pre-requisites” to verify if you are able to use the script.
I’m missing a bunch of modules as this is a clean Windows 10 machine.
Next click on “Install/Update Pre-requisites” to download and install the correct modules.
This may break if you have installed very old versions of some modules. Download and update these modules manually should it fail for any reason.
The GUI may freeze during the installation as it’s downloading the .msi from Microsoft.
You will need to accept the installation from the PSGallery and Nuget provider a few times which can be done using the PowerShell window in the background.
Continue accepting all questions (take a look at the script to verify what it is installing)
Go back to the GUI to verify the progress
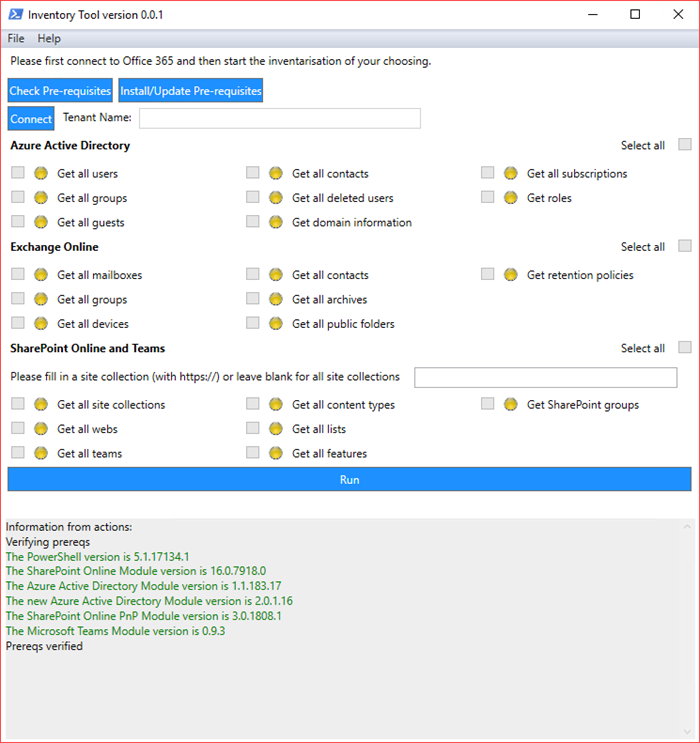
Please restart the script and verify pre-requisites again
The Connect and Run buttons have become available if all pre-requisites are met.
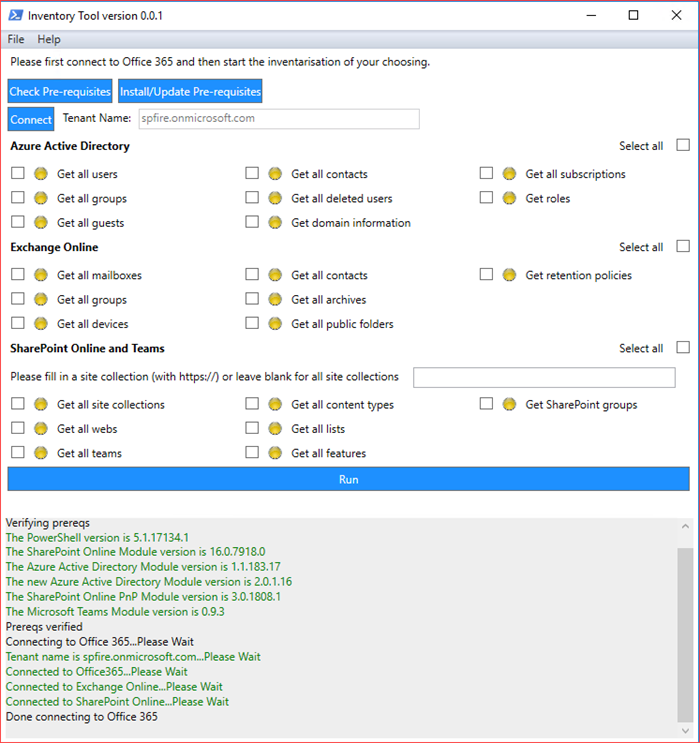
Please click on “Connect” to enable the checkboxes as it will only enable the checkboxes which you have permissions to.
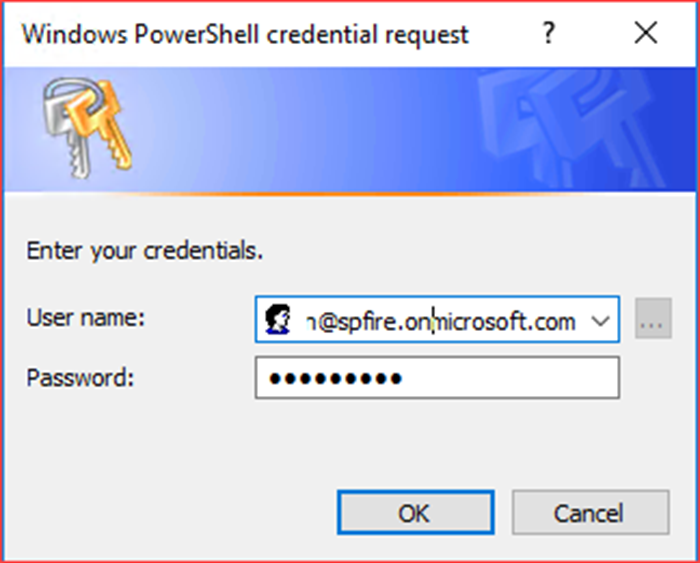
It will try to connect to the Office 365 tenant, Exchange Online and SharePoint Online which will enable the checkboxes if passed.
OK
It will list in green if the connection was successful and enable the checkboxes.
In my first test I have selected all Azure Active Directory checkboxes.
The script will first collect all the requested data and store the information in an .XML file
Next it will create an .HTML file based on the information available in the .XML file.
This means you will only see the sections in the .HTML file of the data you have selected.
You can scroll to the log if an error should have occurred.
The .HTML file should have opened automatically but if not it’s located in the log folder.
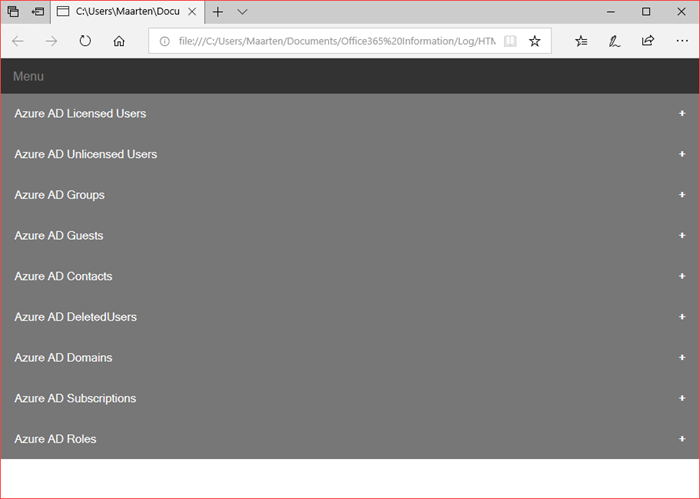
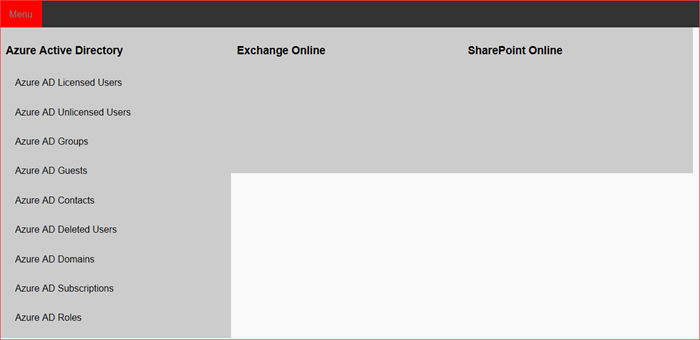
A responsive .HTML file has been created with only the requested sections available.
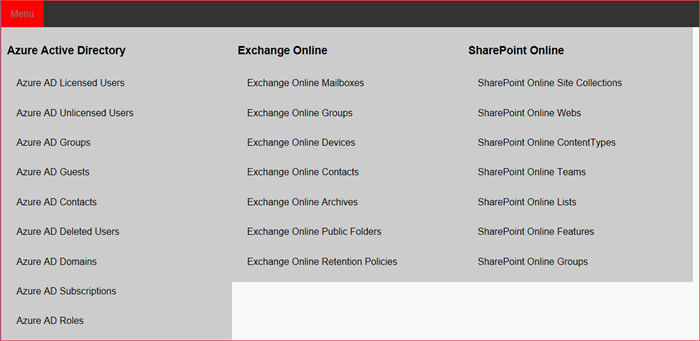
The Menu also only shows the sections you requested.
It’s a one-page site where the menu navigates you to the selected section in the .HTML file.
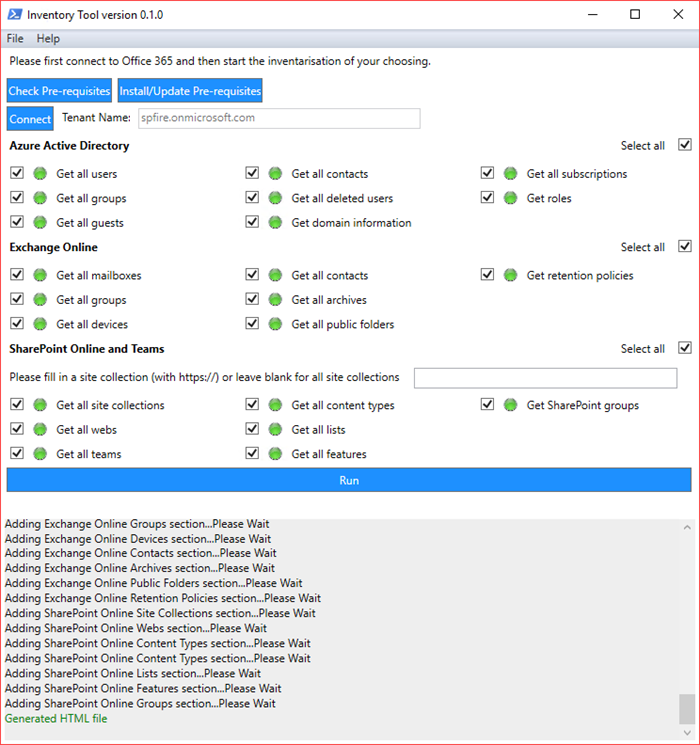
You can view the information at the end of the blog but for my second test I’m going to select everything and run it again.
Please note that you can collect information from just one SharePoint Online Site Collection or collect information from all Site Collections in your tenant.
It may take a while if you have a large tenant!
The HTML file should again be opened automatically which may make the GUI unresponsive.
The different outputs are listed below.
Report
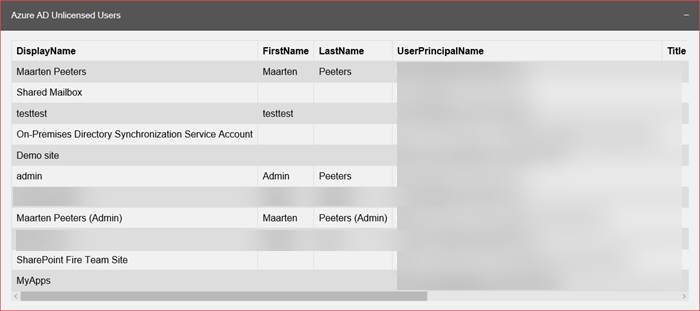
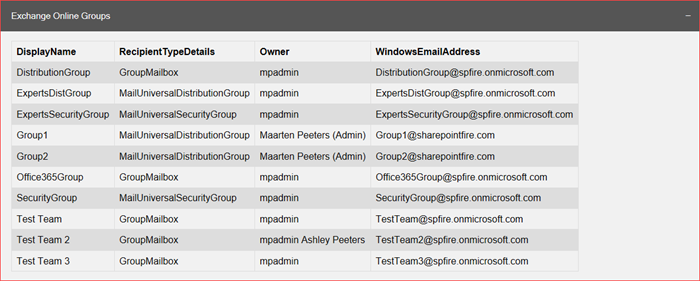
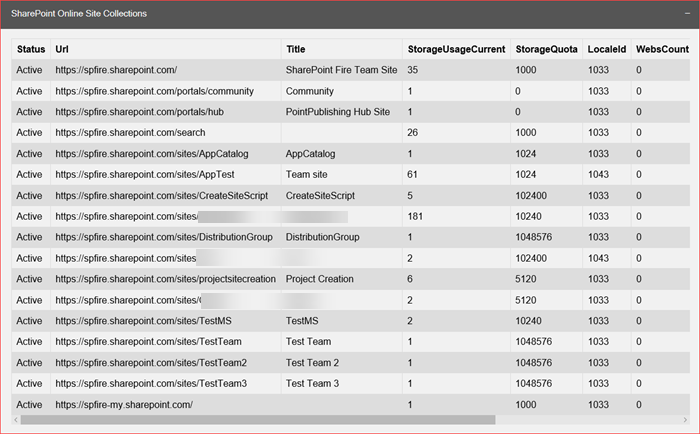
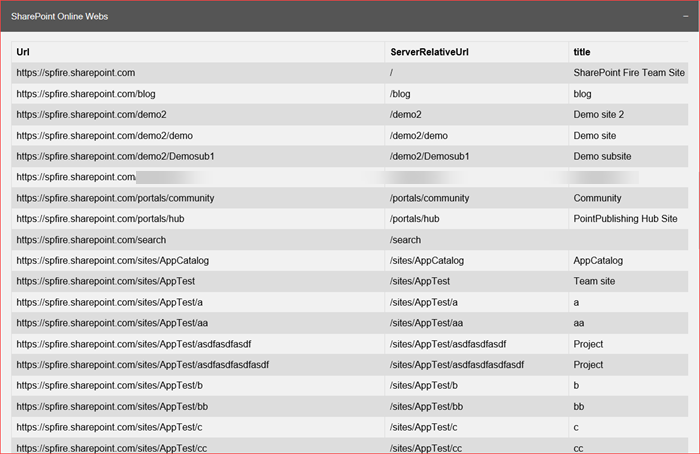
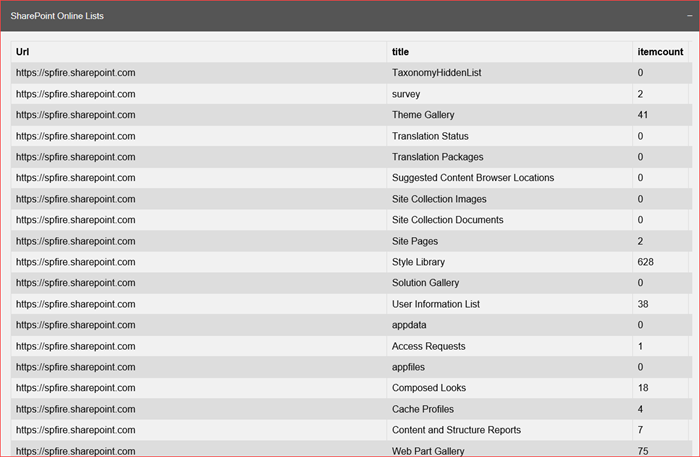
I have copied a few sections from the .HTML file below.
The different tables can be copied to Excel from the .HTML file if you want to sort between the data as I currently haven’t added the functionality to create an .XLSX file directly.
